Step 1: Secure Banding - following the instructions appropriate for your banding position and attach bracket to pole, using duct tape to temporarily secure bracket while metal bands are positioned (see Figure 1). Secure metal bands with screwdriver or banding tool and remove any duct tape. Reminder: spring on top!
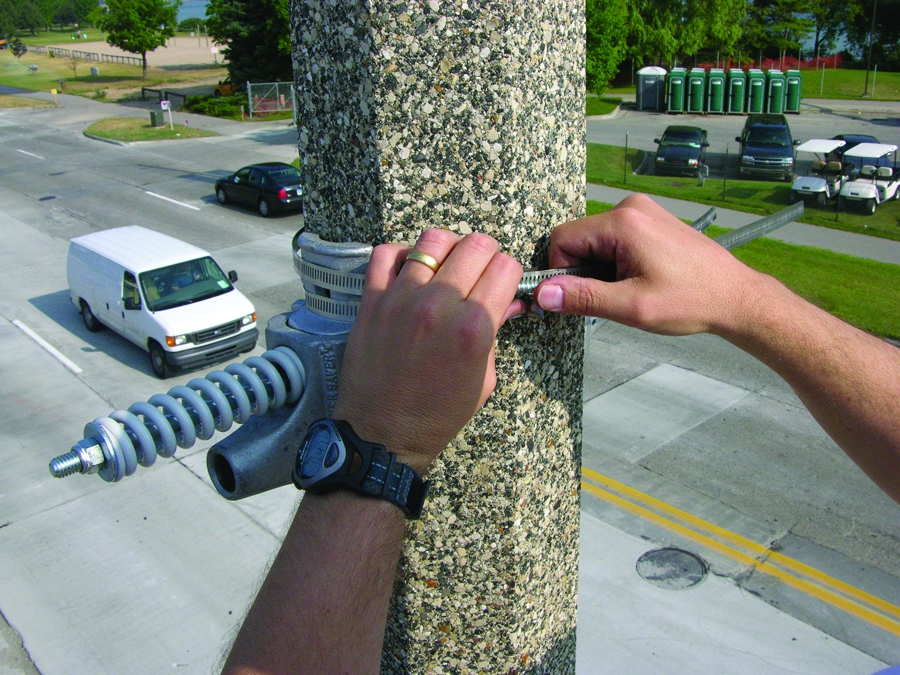 Figure 1
Step 2: Install Arm and Secure – insert fiberglass arm through top pole pocket of banner and insert end of arm with the metal sleeve into the nose of the bracket.
Step 3: Secure with Pin and Zip Tie – insert pin through BannerSaver nose and fiberglass arm (see Figure 2). Finish with zip tie through grommet (see Figure 3).
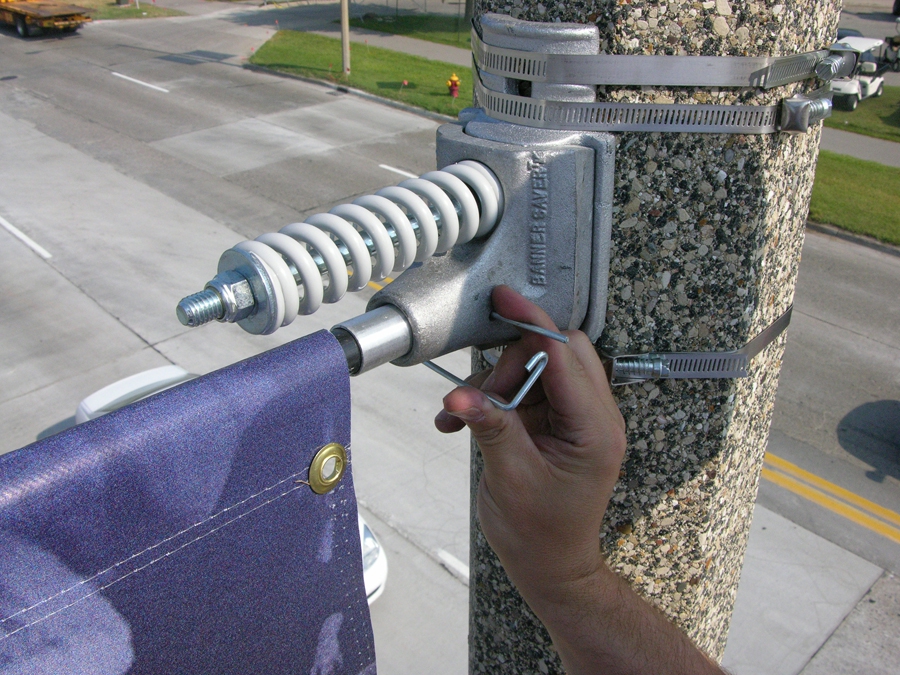 Figure 2
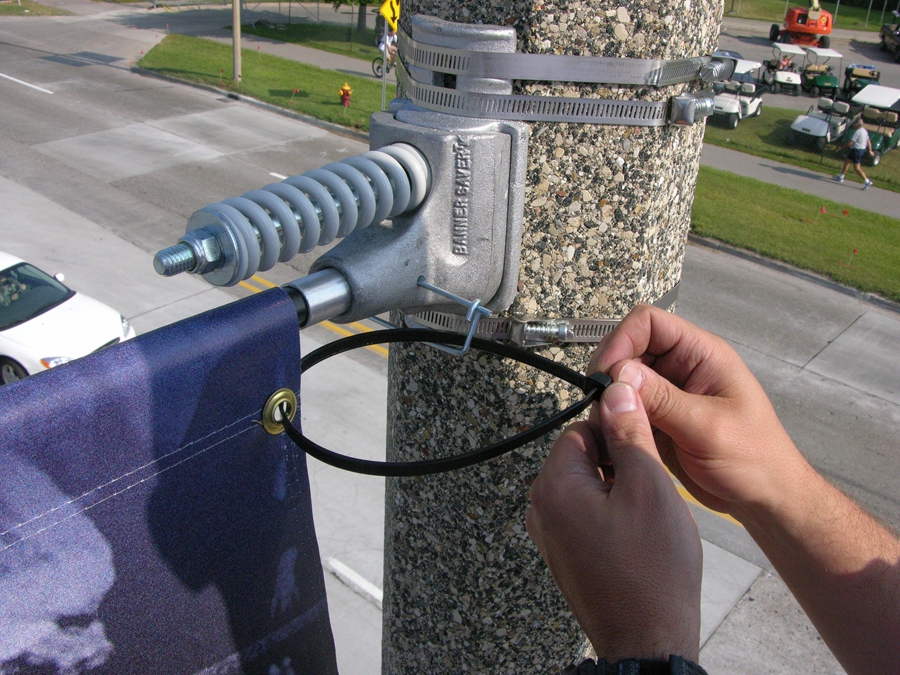 Figure 3
Step 4: Complete – tighten banding. Clip excess banding and zip tie with snips (see Figure 4).
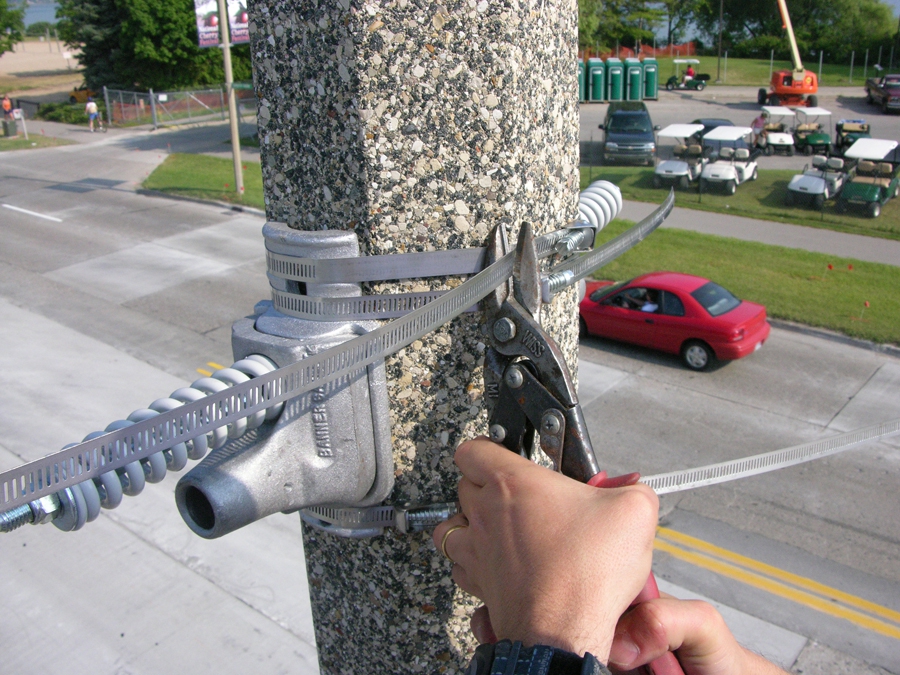 Figure 4
Step 5: Position yourself down the pole to approximate bottom bracket position.
Step 6: Secure Banner to Arm – at this point, your banner will be attached to the top bracket only and hanging downwards. Insert fiberglass arm through bottom pole pocket of banner with the metal sleeve inserted into the nose of the bracket. Note: The bottom bracket is not yet attached to the pole at this point.
Step 7: Secure with Pin – insert the pin through BannerSaver nose and fiberglass arm. The banner is now fully extended and attached to the bracket. The bracket is now ready to be installed on the pole.
Step 8: Attach to Pole – push bottom bracket against pole – spring on bottom – and install both top bands.
Step 9: Bottom Band – push bottom edge of bracket against the pole and install bottom band.
Step 10: Complete – finish with zip tie through grommet. Trim ends of the zip tie and banding.